-
Building E, No. 65 Xingshan North Road, Liangtian, Baisha Industrial Park, Baiyun District, Guangzhou

How to Safely Remove and Replace a PSU in Your Desktop PC
How to Safely Replace a PSU: A Step-by-Step Guide to Upgrading Your Desktop PC Power Supply
This comprehensive guide provides detailed instructions on how to safely replace a power supply (PSU) in your desktop PC. Whether you’re upgrading to a more powerful unit, replacing a faulty one, or simply performing maintenance, this step-by-step walkthrough will help you confidently remove a PSU and install a power supply without causing damage to your system. Replacing a PSU might seem intimidating, but with careful attention and the right approach, it’s a manageable task for most PC users. It’s like replacing the engine in a car, except not nearly as complicated.
Table of Contents
1. Why Would You Need to Replace Your PSU?
There are several reasons why you might need to replace your power supply:
- Upgrading Components: If you’re adding a new graphics card, more storage drives, or other power-hungry components, your current power supply might not have enough wattage to handle the increased load. You may need to upgrade.
- PSU Failure: Power supplies can fail over time due to age, wear and tear, or power surges. Common symptoms of a failing PSU include random shutdowns, system instability, or the PC not powering on at all.
- Noise Reduction: Older PSUs can become noisy as their fans wear out. Replacing the PSU can significantly reduce the noise level of your PC.
- Efficiency Improvement: Newer PSUs often have higher efficiency ratings (like 80 Plus Gold), meaning they waste less energy as heat, leading to lower electricity bills and a cooler system.
Replacing the PSU is a common maintenance task that can significantly improve your system’s performance, stability, and longevity.
2. Choosing the Right Replacement PSU
Before you start, it’s crucial to select the right replacement PSU. Consider these factors:
- Wattage: Calculate your system’s total power requirements (including all components) and choose a PSU with sufficient wattage, plus some headroom for future upgrades. Online PSU calculators can help with this.
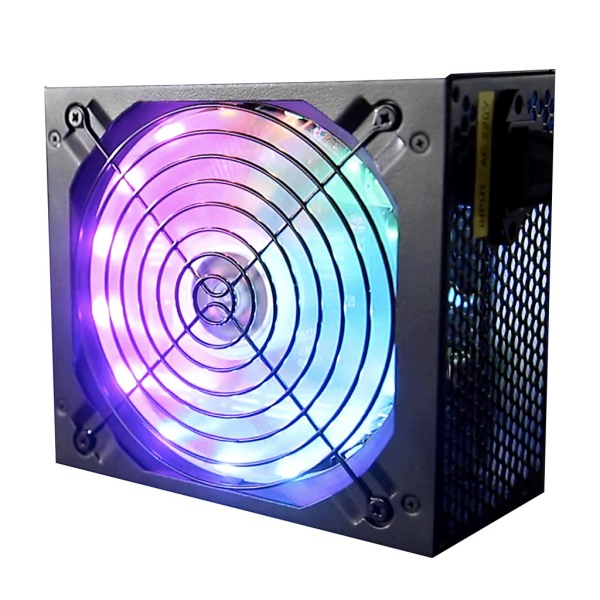
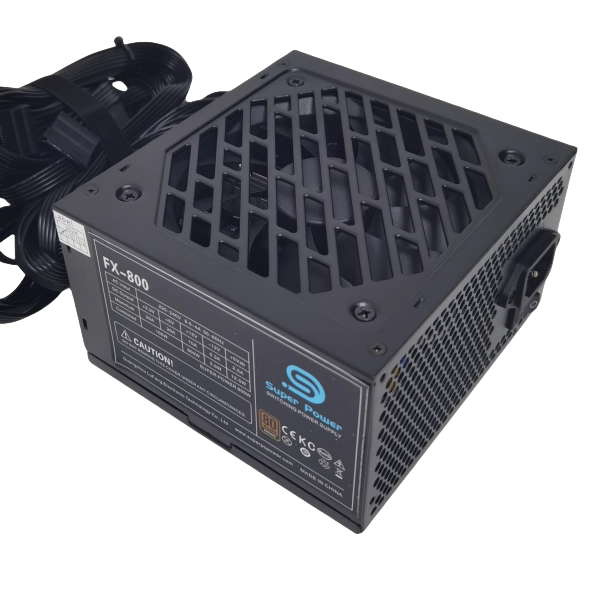
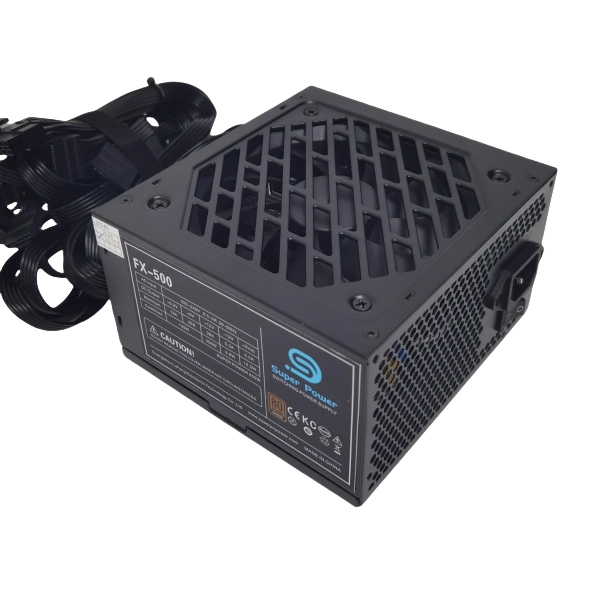
- Form Factor: Ensure the PSU’s form factor (ATX, SFX, TFX, etc.) is compatible with your PC case. We offer ATX Power Supply, SFX Power Supply, FLEX Power Supply, and TFX Power Supply options.
- Efficiency Rating: Look for an 80 Plus certified PSU (Bronze, Silver, Gold, Platinum, or Titanium) for better energy efficiency. Our 80 plus gold 850w power supply is very popular.
- Modularity: Modular power supply options (fully modular or semi-modular) allow you to detach unnecessary cables, improving airflow and cable management.
- Connectors: Verify that the PSU has all the necessary connectors for your components (24-pin ATX, 8-pin EPS/ATX12V for CPU power, PCIe for GPU, SATA for storage, etc.).
Choosing the wrong PSU can lead to compatibility issues, instability, or even damage to your components.
3. Essential Tools for the Job
You’ll need a few basic tools:
- Phillips Head Screwdriver: This is the primary tool you’ll use to remove the PC case panels and the PSU itself. A phillips head screw driver is essential.
- Anti-static Wrist Strap: This is a crucial safety precaution to prevent static electricity from damaging your PC components. This will protect against any static electricity.
- Zip Ties or Velcro Straps: These are helpful for cable management, keeping the cables organized and out of the way of fans.
- Scissors or wire cutters: To cut zip ties.
Having these tools readily available will make the process much smoother and safer.
4. Step 1: Power Down and Disconnect Everything
Safety is paramount. Before you touch anything inside your PC, follow these crucial steps:
- Shut Down: Shut down your computer completely through the operating system (e.g., Windows “Shut Down”).
- Power Switch: Turn off the power switch on the back of the PSU (if it has one).
- Unplug: Unplug the power cable from the wall outlet and from the back of the PSU. This completely disconnects your computer from the power source.
- Discharge Residual Power: Press and hold the power button on the front of your PC case for a few seconds. This helps to discharge any remaining electricity stored in the capacitors.
These steps are absolutely crucial to ensure your safety and prevent damage to your PC components. Never work inside a computer that’s still connected to a power source.
5. Step 2: Open Your PC Case
Now, you need to open your PC case to access the PSU:
- Locate Case Screws/Latches: Most PC cases have screws or latches on the back that secure the side panels. Refer to your PC case manual if you’re unsure how to open it.
- Remove Side Panel(s): Carefully remove the side panel(s) that provide access to the internal components. It’s usually best to remove both side panels to make cable routing easier later on.
- Ground Yourself: Put on your anti-static wrist strap.
With the case open, you should have a clear view of the internal components, including the PSU.
6. Step 3: Disconnect Cables from the Old PSU
Before removing the old PSU, you need to carefully disconnect all the power cables:
- Take Pictures (Optional but Recommended): Before disconnecting anything, take pictures of the inside of your PC, particularly the PSU and its connections. This will serve as a valuable reference when you’re connecting the new power supply.
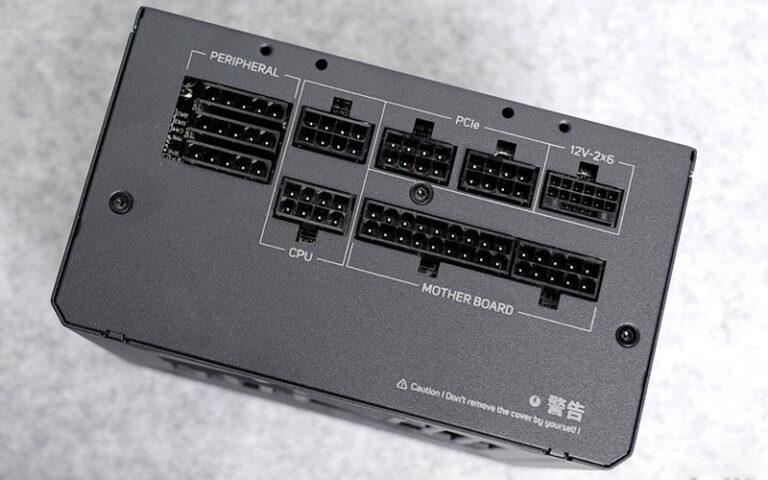
- Identify Connectors: Familiarize yourself with the different types of connectors:
- 24-pin ATX Connector: The largest connector, providing main power to the motherboard.
- 8-pin (or 4+4 pin) EPS/ATX12V Connector: Provides power to the CPU.
- PCIe Connectors (6-pin or 8-pin): Provide power to the graphics card (GPU and motherboard).
- SATA Power Connectors: Flat, wide connectors that power hard drives, SSDs, and optical drives.
- Molex Connectors: Older 4-pin connectors, less common now, but sometimes used for fans or older peripherals.
- Disconnect Carefully: Gently but firmly disconnect all the power connectors from the motherboard, graphics card, storage devices (hard drives and SSDs), and any other components. Pull each connector straight out; don’t wiggle or force them. You will need to disconnect all of them. You will likely need to disconnect from the GPU and motherboard.
Take your time and be methodical. Make sure all cables connected to the PSU are disconnected before proceeding.
7. Step 4: Remove the Old PSU
Now you can physically remove the old power supply:
- Locate Mounting Screws: The PSU is typically secured to the back of the PC case with four screws.
- Unscrew the PSU: Carefully unscrew and remove the screws that hold the PSU in place. Support the PSU with your other hand to prevent it from falling and potentially damaging other components.
- Remove the PSU: Once the screws are removed, carefully slide or lift the old PSU out of the PC case. You might need to maneuver it slightly to clear any obstacles.
With the old PSU removed, you’re ready to install the new one.
8. Step 5: Install the New PSU
Installing the new PSU is essentially the reverse of the removal process:
- Position the PSU: Carefully place the new power supply into the PSU mounting area in your PC case. This is usually at the bottom, but some cases have it at the top. The PSU will likely only fit one way.
- Orient the Fan: Ensure the PSU fan is facing the correct direction. Typically, if your case has a vent at the bottom, the fan should face down (drawing in cool air from outside). If there’s no bottom vent, the fan should face up (drawing air from inside the case).
- Secure the PSU: Align the PSU with the screw holes on the back of the case and secure it using the four screws that came with the new PSU or the case.
Make sure the new PSU is firmly mounted and doesn’t wobble.
9. Step 6: Connect Cables to Components
Now it’s time to start wiring things. This is the most critical part of the process:
- Refer to Your Pictures (if taken): Use the pictures you took earlier as a reference to ensure you connect everything correctly.
- Connect the Mainboard Power:
- 24-pin ATX Connector: Connect the large 24-pin ATX connector to the corresponding 24-pin socket on the motherboard. This provides the main power to the motherboard.
- 8-pin (or 4+4 pin) EPS/ATX12V Connector: Connect the 8-pin (or 4+4 pin) EPS/ATX12V connector to the CPU power socket on the motherboard, usually located near the CPU.
- Connect the Graphics Card Power:
- PCIe Connectors: If you have a dedicated graphics card, connect the necessary PCIe power connectors (6-pin or 8-pin) to it. High-end graphics cards may require multiple PCIe connectors.
- Connect Storage Device Power:
- SATA Power Connectors: Connect SATA power connectors to your SSDs and hard drives.
- Connect Other Components: Connect any other necessary power connectors to fans, optical drives, or other peripherals.
Double-check all connections to ensure they are securely seated. A loose connection can cause system instability or prevent the PC from powering on.
10. Step 7: Cable Management and Final Checks
Before closing up your PC case, take some time for cable management:
- Route Cables Neatly: Route the cables behind the motherboard tray and through any available cable management holes in your PC case. This will improve airflow and make your build look cleaner.
- Use Zip Ties/Velcro Straps: Bundle excess cable lengths together and secure them to the case using zip ties or Velcro straps.
- Double-Check Connections: Once again, verify that all power connectors are firmly connected to their respective components.
- Visual Inspection: Do a final visual inspection to ensure no cables are obstructing fans or interfering with other components.
- Reconnect the cord.
With everything connected and neatly managed, you can now close up your PC case.
Frequently Asked Questions
Can I reuse the cables from my old PSU with my new PSU?
Generally, no. It’s best to use the cables that came with your new PSU. PSU cables are not always standardized, and using incompatible cables can damage your components.
What should I do if my PC doesn’t power on after replacing the PSU?
Double-check all the connections, including the 24-pin ATX connector, the 8-pin CPU power connector, PCIe connectors, and SATA power connectors. Ensure the power switch on the back of the PSU is in the “on” position. If the problem persists, the new PSU might be faulty, or there might be another issue with your system.
Is it difficult to replace a PSU?
Replacing a PSU is a relatively straightforward process, but it does require some technical knowledge and careful attention to detail. Following a step-by-step guide like this one can make the process much easier.
Can I damage my PC components if I install the PSU incorrectly?
Yes, it’s possible. Incorrectly connecting power cables, using incompatible cables, or short-circuiting components can cause damage. That’s why it’s crucial to follow instructions carefully and take safety precautions.
My PC case has a PSU shroud. Does that change the installation process?
Yes, it will.
A PSU shroud is a cover that hides the PSU and cables for a cleaner look. If your case has one, you’ll likely need to remove it before installing the PSU. Consult your case manual for instructions.
What is a modular power supply?
With a modular power supply, you will only attach the cables that are needed.
Summary
- Replacing a PC power supply (PSU) is a common upgrade or maintenance task.
- Choose the right replacement PSU based on wattage, form factor, efficiency, and connectors.
- Always power down, unplug, and ground yourself before working inside your PC.
- Carefully disconnect all cables from the old PSU before removing it.
- Install the new PSU and secure it with screws.
- Connect all necessary power connectors to the motherboard, graphics card, storage devices, and other components.
- Practice good cable management for improved airflow and aesthetics.
- Double-check all connections and perform a visual inspection before powering on your PC.
- We have the PC POWER SUPPLY you need.
- Replacing the PSU is a straightforward process with the right guidance.
- OEMs like us offer customized power supply solutions.
- Always follow safety precautions when working with electronics.
- Consider our FLEX Power Supply for compact builds.
- We have a power supply for every need!