-
Building E, No. 65 Xingshan North Road, Liangtian, Baisha Industrial Park, Baiyun District, Guangzhou

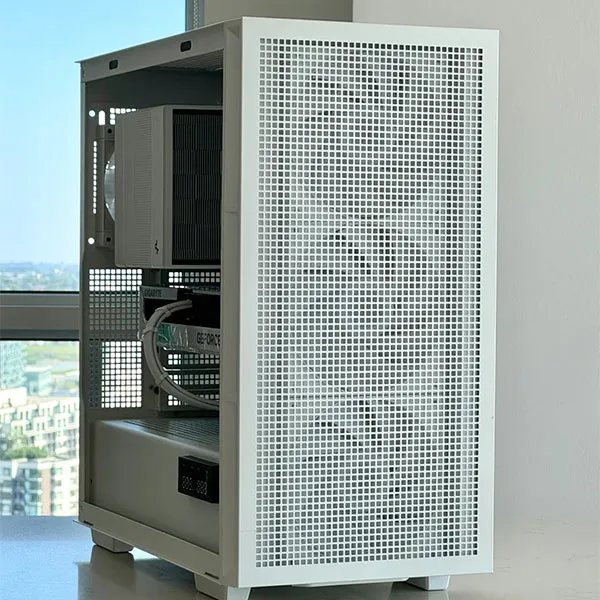
How To Change PC Power Supply
How to Replace Your PC Power Supply: A Step-by-Step Guide to Installing a New PSU
This comprehensive guide provides a detailed, step-by-step walkthrough for replacing a power supply unit (PSU) in your PC. Whether you’re upgrading to a more powerful unit, replacing a faulty PSU, or simply performing routine maintenance, this guide will explain how to safely and effectively install a new PSU. Replacing a PSU might seem intimidating, but it’s a relatively straightforward process that most PC users can handle with the right tools and instructions. We can help you find the best power supply for you. This is essential reading for anyone looking to confidently tackle this crucial aspect of PC maintenance or upgrades and learn how to correctly replace your power supply.
Table of Contents
1. Why Would You Need to Replace a PSU?
There are several reasons why you might need to replace the PSU in your PC:
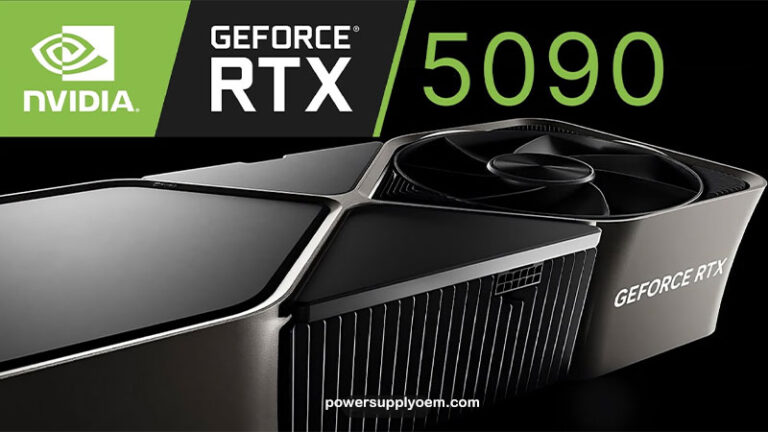
- Upgrading Components: If you’re adding a new graphics card, more storage drives, or other power-hungry components, your current PSU might not have enough wattage to handle the increased load.
- PSU Failure: PSUs can fail over time due to age, wear and tear, or power surges. Common symptoms of a failing PSU include random shutdowns, system instability, or the PC not powering on at all.
- Noise Reduction: Older PSUs can become noisy as their fans wear out. Replacing the PSU can significantly reduce the noise level of your PC.
- Efficiency Improvement: Newer PSUs often have higher efficiency ratings (like 80 Plus Gold), meaning they waste less energy as heat, leading to lower electricity bills and a cooler system.
Regardless of the reason, replacing a PSU is a common PC maintenance task that can significantly impact your system’s performance and stability. It is not the most exciting PC component, but it is vital.
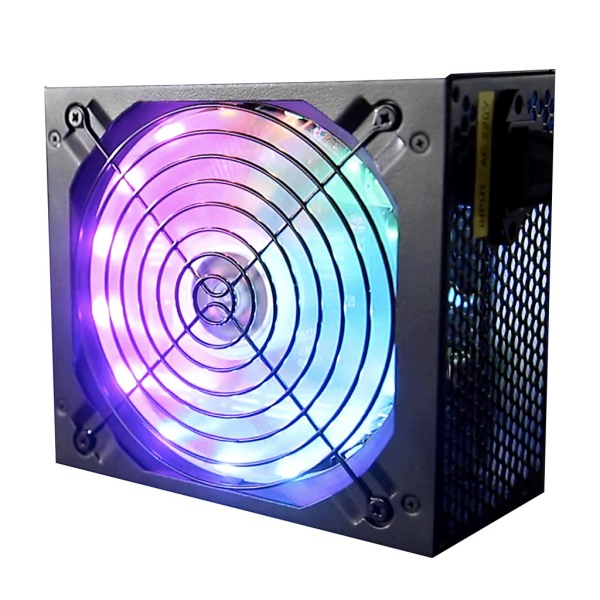
2. Choosing the Right PSU for Your PC
Before you install a new PSU, selecting the right PSU for your PC is crucial. Key factors to consider include:
- Wattage: Calculate your system’s total power requirements (considering all components, including CPU, graphics card, motherboard, storage, etc.) and choose a PSU with sufficient wattage, plus some headroom for future upgrades.
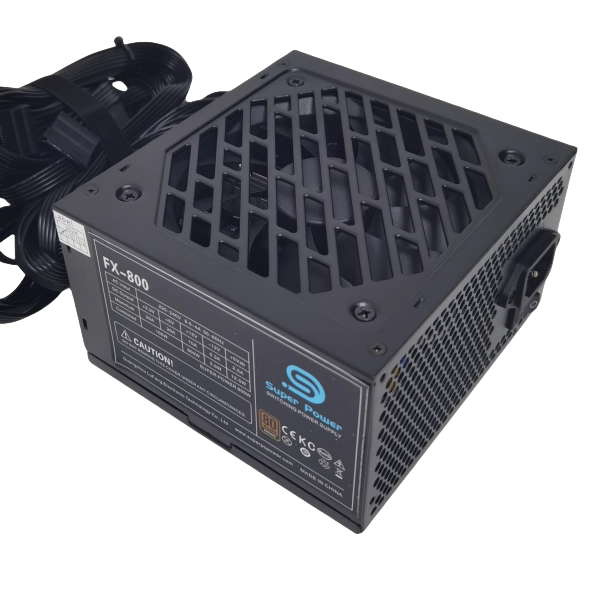
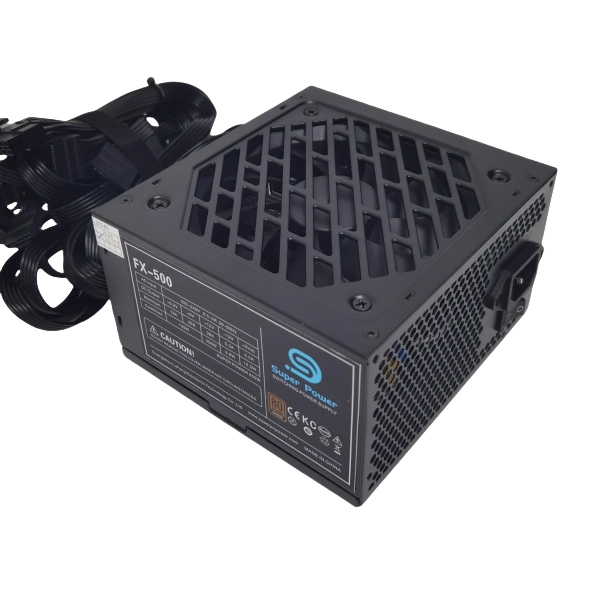
- Form Factor: Ensure the PSU’s form factor (ATX, SFX, TFX, etc.) is compatible with your PC case. We offer ATX Power Supply, SFX Power Supply, FLEX Power Supply, and TFX Power Supply options.
- Efficiency Rating: Look for an 80 Plus certified PSU (Bronze, Silver, Gold, Platinum, or Titanium) for better energy efficiency.
- Modularity: Modular PSUs allow you to detach unnecessary cables, improving airflow and cable management. A modular power supply is recommended.
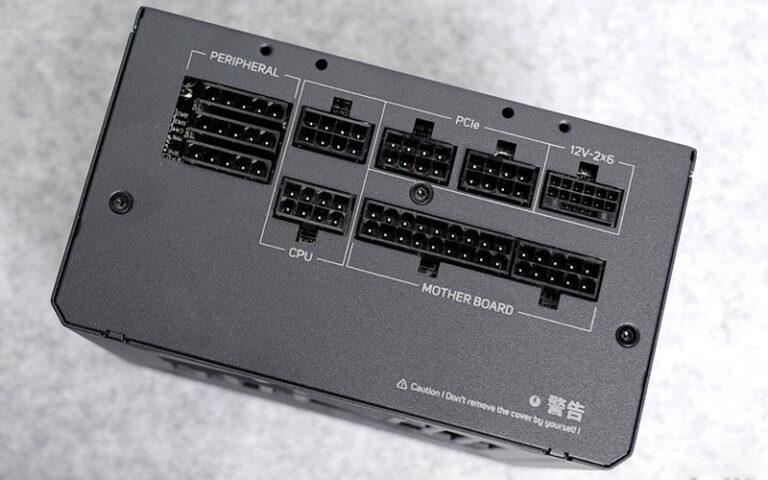
- Connectors: Verify that the PSU has all the necessary connectors for your components (24-pin ATX, 8-pin CPU, PCIe for GPU, SATA for storage, etc.).
Choosing the wrong PSU can lead to compatibility issues, system instability, or even damage to your components.
3. Tools You’ll Need
You’ll need a few basic tools to replace your PSU:
- Phillips Head Screwdriver: This is the primary tool you’ll use to remove the PC case panels and the PSU itself.
- Anti-static Wrist Strap: This is an important safety precaution to prevent static electricity from damaging your PC components.
- Zip Ties or Velcro Straps: These are helpful for cable management, keeping the cables organized and out of the way of fans.
- Scissors: To cut zip ties.
Having these tools on hand will make the installation process much smoother.
4. Step 1: Preparing Your PC and Removing the Old Power Supply
Step 1 is critical for safety and preventing damage:
- Power Down and Unplug: Completely shut down your computer and unplug it from the wall outlet. Unplug your computer from the power source. This is essential to prevent electrical shock.
- Open the Case: Remove both side panels of your PC case. This usually involves unscrewing a few thumbscrews or releasing some clips. This will give you the ability to access the PSU.
- Ground Yourself: Wear an anti-static wrist strap and connect it to a grounded metal object to discharge any static electricity.
- Disconnect Cables from Old PSU: Carefully disconnect all the power connectors from the motherboard, graphics card, storage devices, and any other components. This includes the 24-pin ATX connector, the 8-pin (CPU power connector) EPS/ATX12V connector, PCIe connectors (for the graphics card), and SATA power connectors (for storage devices). Pull each connector gently; do not force them. Make sure all cables are disconnected.
- Unscrew and Remove the Old PSU: Locate the four screws that hold the PSU to the back of the PC case. Remove the screws that hold the PSU. Carefully unscrew and remove the old power supply. You will need to remove the old unit. You may need to remove your old power supply from a PSU shroud. The screws that hold your power supply in place will be on the back of the PC.
With the old PSU removed, you’re ready to install the new one. It is relatively easy to replace a PSU.
5. Step 2: Installing the New PSU
Step 2 involves physically installing the new power supply:
- Position the New PSU: Carefully place the new PSU into the PSU mounting area in your PC case. This is typically at the bottom of the computer, although some cases have it at the top. The PSU will only fit one way.
- Orient the Fan: Make sure the PSU fan is facing the correct direction. Typically, the fan should face downwards if your case has a vent at the bottom, or upwards if it doesn’t.
- Secure the PSU: Align the PSU with the screw holes on the back of the PC case and secure it using the four screws that came with the new PSU or the case. This will keep the PSU in place.
Ensure the new PSU is securely mounted and doesn’t wobble.
6. Step 3: Connecting the Power Cables
Step 3 is where you connect all the necessary cables:
- 24-pin ATX Connector: Connect the large 24-pin ATX connector to the corresponding 24-pin socket on the motherboard. This provides the main power to the motherboard.
- 8-pin (or 4+4 pin) EPS/ATX12V Connector: Connect the 8-pin (or 4+4 pin) EPS/ATX12V connector to the CPU power socket on the motherboard, usually located near the CPU. The 8-pin CPU power connector is essential.
- PCIe Connectors (for Graphics Card): If you have a dedicated graphics card, connect the necessary PCIe power connectors (6-pin or 8-pin) to it. Some high-end graphics cards require multiple PCIe connectors.
- SATA Power Connectors (for Storage): Connect SATA power connectors to your SSDs and hard drives.
- Molex Connectors (for Older Peripherals): Connect Molex connectors to any older peripherals or case fans that require them.
Double-check all connections to ensure they’re securely seated. It is now time to start wiring things. Connect the new cables.
7. Modular vs. Non-Modular vs. Semi-Modular PSUs: Cabling Considerations
PSUs come in three main cabling configurations:
- Non-Modular: All cables are permanently attached to the PSU. This can make cable management more difficult.
- Semi-Modular: Some cables (usually the essential ones like the 24-pin ATX and 8-pin CPU) are permanently attached, while others are detachable.
- Fully Modular: All cables are detachable (removable cables), allowing you to use only the cables you need. This offers the best cable management and airflow. A modular PSU, or fully modular PSU, offers the most flexibility.
If you’re using a modular or semi-modular PSU, only connect the cables that you need for your components. This will minimize clutter and improve airflow. You can find the necessary cable next to connect.
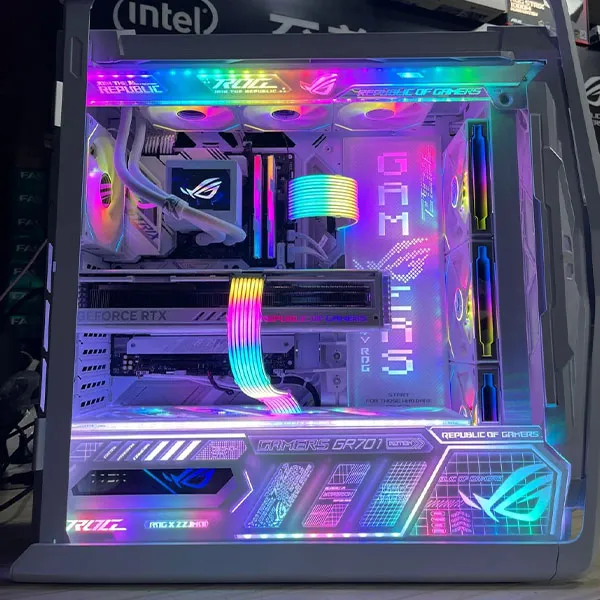
8. Cable Management Tips
Good cable management is important for:
- Airflow: Uncluttered cables allow for better airflow through the PC case, keeping components cooler.
- Aesthetics: A clean build looks much better, especially if you have a case with a window.
- Maintenance: Well-managed cables make it easier to access and work on components in the future.
Here are some cable management tips:
- Route Cables Behind the Motherboard Tray: Most PC cases have space behind your motherboard, and the motherboard tray, for routing cables. Use this space to hide as many cables as possible.
- Use Zip Ties or Velcro Straps: Bundle cables together and secure them to the case using zip ties or Velcro straps.
- Utilize Cable Management Holes: Many PC cases have holes or cutouts specifically designed for cable routing. Use these to feed the cables.
Proper cable management will help with the look, and cooling.
9. Testing Your New PSU Installation
Before closing up your PC case, it’s crucial to test the new PSU installation:
- Reconnect the Power Cable: Plug the power cable into the PSU and the wall outlet.
- Turn on the Power Switch: Flip the power switch on the back of the PSU to the “on” position.
- Power On Your Computer: Press the power button on the front of your PC case. Turn on your computer.
- Observe: If everything is connected correctly, your PC should power on, and you should see the system boot up.
- Check for Stability: Once the operating system has loaded, run some demanding applications or games to ensure the system is stable under load. See if everything is working.
If the PC doesn’t power on or if you encounter any issues, double-check all the connections and ensure everything is properly seated.
10. Why Choose Us as Your OEM Power Supply Partner?
As an OEM (PC power supply, ATX power supply, SFX power supply, FLEX power supply, TFX power supply, 80 Plus Gold) manufacturer, we specialize in providing customized power solutions for:
- PC Power Supply Brands: We can manufacture the products you need.
- 3C Supermarkets: We offer high quality and affordable pricing.
- Computing equipment manufacturers: We offer customized power solutions.
- IoT device manufacturers: Our products are suitable for various uses.
- Power Supply Wholesalers: We offer bulk order options.
- Agents: Our team of experts can assist you throughout the order.
- Large Internet Cafes: We have the capability to fill large orders.
Partnering with us offers several advantages:
- Customization: We can tailor power supplies to your exact specifications, including wattage, form factor, connectors, cabling, and branding.
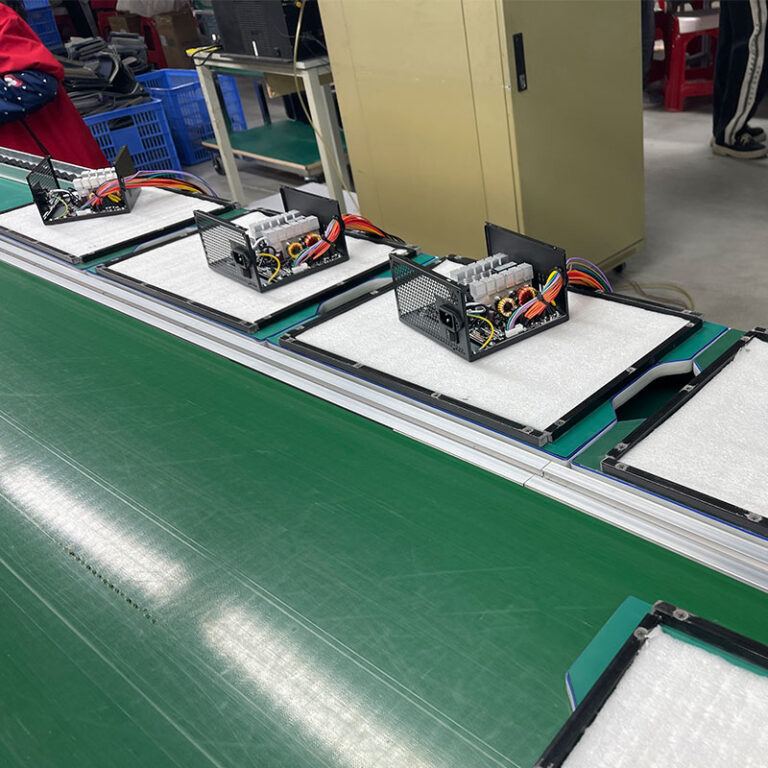
- Quality: We use high-quality components and rigorous testing procedures to ensure the reliability and performance of our power supplies.
- Cost-Effectiveness: Buying directly from the manufacturer often results in better pricing, especially for bulk orders.
- Expert Support: Our team provides technical support and guidance throughout the design and manufacturing process.
Working directly with an OEM manufacturer gives you greater control over the quality, specifications, and cost of your power supplies.

Frequently Asked Questions
Can I reuse the cables from my old PSU with my new PSU?
It is not recommended.
Generally, no. It’s best to use the new cables that came with your new PSU. PSU cables are not always standardized, and using incompatible cables can damage your components.
How do I know if my new PSU is working properly?
If your PC powers on, boots up, and runs stably without any issues, the new PSU is likely working correctly. You can also monitor system temperatures and voltages using monitoring software. You should confirm that everything is working properly.
What should I do if my PC doesn’t power on after installing the new PSU?
Double-check all the connections, including the 24-pin ATX connector, the 8-pin CPU power connector, PCIe connectors, and SATA power connectors. Ensure the power switch on the back of the PSU is in the “on” position. If the problem persists, the new PSU might be faulty, or there might be another issue with your system.
Is it difficult to replace a PSU?
Replacing a PSU is a relatively straightforward process, but it does require some technical knowledge and careful attention to detail. Following a step-by-step guide like this one can make the process much easier.
Can I install a PSU myself or should I hire a professional?
Most PC users with some basic technical skills can install a PSU themselves. However, if you’re uncomfortable working inside your computer or dealing with electrical components, it’s best to seek professional help.
What do I do with my old PSU?
You should recycle your old unit.
Summary
- Replacing a PSU is a common PC maintenance or upgrade task.
- Choose the right PSU for your PC based on wattage, form factor, efficiency, modularity, and connectors.
- Prepare your PC by powering it down, unplugging it, opening the case, and grounding yourself.
- Carefully remove your old power supply by disconnecting all cables and unscrewing it from the case.
- Install the new PSU by positioning it, securing it with screws, and connecting all the necessary power connectors.
- Use a modular or semi-modular PSU for better cable management.
- Practice good cable management for improved airflow and aesthetics.
- Test your new PSU installation before closing up your PC case.
- As an OEM power supply manufacturer, we offer customized solutions to meet your specific needs.
- Partnering with us provides access to expertise, quality, cost-effectiveness, and customization.
- This guide provides a step-by-step guide detailing how to install a new PSU.
- The best PC PSUs are powerful, efficient, and reliable.
- You now should feel more confident about replacing a PSU.