-
Building E, No. 65 Xingshan North Road, Liangtian, Baisha Industrial Park, Baiyun District, Guangzhou
How To Replace PSU PC Power Supply ?
How to Replace a PSU: A Step-by-Step Guide to Upgrading Your PC Power Supply
This article provides a comprehensive, step-by-step guide on how to replace a power supply (PSU) in your PC. Whether you’re upgrading to a more powerful unit for a gaming PC, replacing a faulty PSU, or simply performing routine maintenance, this guide will walk you through the process. While it might seem daunting, replacing a PSU is a relatively straightforward task that most PC users can handle with the right tools and a bit of caution. This guide is worth reading because it demystifies the process, providing clear instructions and helpful tips to ensure a successful and safe power supply unit replacement. This is especially important for people with a high-end PC.
Table of Contents
1. Why Would You Need to Replace Your PC’s PSU?
There are several reasons why you might need to replace your PC’s PSU:
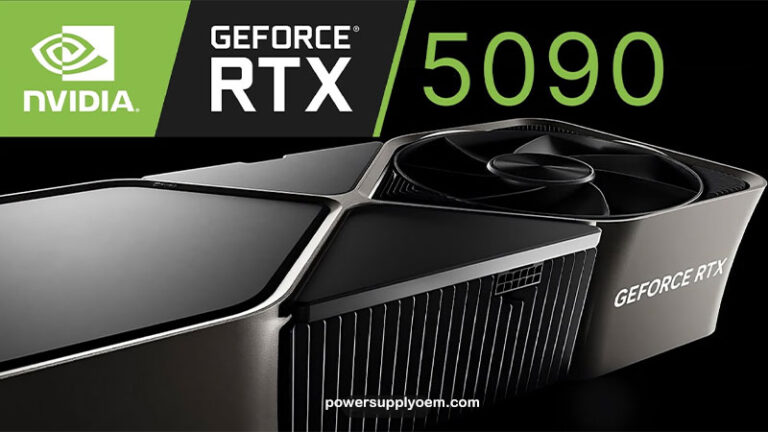
- Upgrading for More Power: If you’re adding a new graphics card, more hard drives, or other power-hungry components, your current PSU might not have enough wattage to handle the increased load. Upgrading to a more powerful PSU is essential in this scenario.
- PSU Failure: PSUs can fail over time due to age, wear and tear, or power surges. Common symptoms of a failing PSU include random shutdowns, system instability, or the PC not powering on at all.
- Noise Reduction: Older PSUs can become noisy over time as their fans wear out. Replacing the PSU can significantly reduce the noise level of your PC.
- Efficiency Improvement: Newer PSUs often have higher efficiency ratings (like 80 Plus Gold or Platinum), which means they waste less energy as heat. This can lead to lower electricity bills and a cooler, quieter PC.
Regardless of the reason, replacing a power supply is a common PC maintenance task that can significantly impact your system’s performance and stability. It is not the most exciting PC component upgrade, but it is critical.
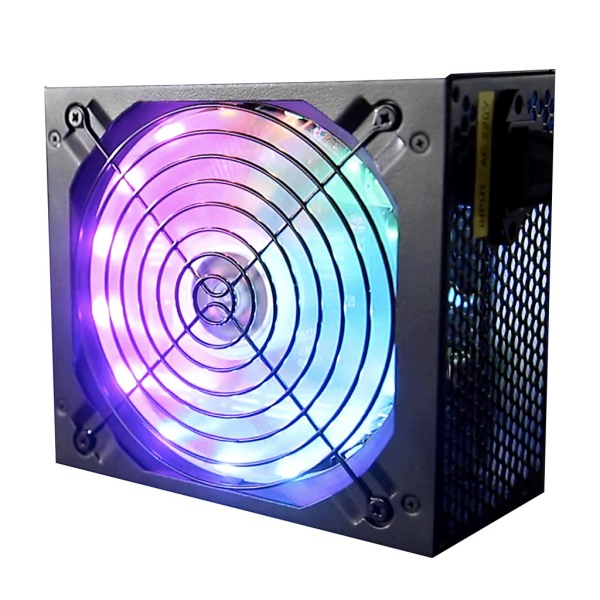
2. Choosing the Right PSU for Your PC: Wattage and Form Factor
Before you buy a PSU, selecting the right PSU for your PC is crucial. Two primary factors to consider are wattage and form factor:
- Wattage: This refers to the maximum power the PSU can deliver. You need to choose a PSU with enough wattage to power all your components, including the CPU, motherboard, graphics card, and any other peripherals. Online PSU calculators can help you estimate your system’s power requirements.
- Form Factor: This refers to the physical size and shape of the PSU. The most common form factor is ATX, which fits most standard desktop PC cases. Other form factors include SFX (for smaller PCs) and TFX (for slimline PCs). Make sure the PSU form factor is compatible with your PC case. The correct form factor can mean very different power capabilities.
Choosing the wrong wattage or form factor can lead to compatibility issues and prevent your system from functioning correctly. It is easy to see the best power supply for you. Take the time to research and select the right PSU for your specific needs. You need to make sure you have enough power.
3. Tools You’ll Need to Replace a Power Supply
Replacing a PSU doesn’t require specialized tools. Here’s what you’ll typically need:
- Screwdriver: A Phillips head screwdriver is usually all you need to remove the screws that hold the PSU in place and to remove the screws that hold other components if necessary.
- Anti-static Wrist Strap: This is an important safety precaution to prevent static electricity from damaging your PC components.
- Zip Ties or Cable Ties: These are helpful for managing the cables inside your PC case and keeping them organized.
- Optional: PSU Tester: This device can be used to test the PSU before installing it in your PC, ensuring it’s functioning correctly.
Having these tools on hand will make the PSU replacement process much smoother.
4. Safety First: Preparing Your PC for PSU Replacement
Before you start replacing the power supply, safety is paramount:
- Power Down and Unplug: Turn off your PC completely and unplug the power cable from the wall outlet. This is absolutely critical to prevent electric shock.
- Ground Yourself: Wear an anti-static wrist strap and connect it to a grounded metal object to discharge any static electricity.
- Open the PC Case: Access the PSU by removing the side panel of your PC case. The method for doing this varies depending on the case, but it usually involves removing a few screws or releasing some clips.
- Take Pictures (Optional but Recommended): Before disconnecting any cables, take pictures of the inside of your PC, particularly the PSU and its connections. This will serve as a valuable reference when you’re installing the new power supply.
These steps are crucial to ensure your safety and prevent damage to your PC components.
5. Removing Your Old Power Supply: A Detailed Walkthrough
Now it’s time to remove your old power supply:
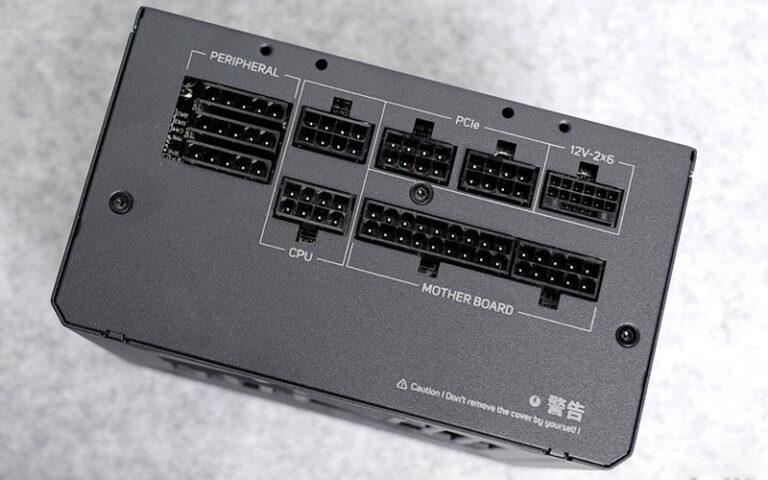
- Disconnect All Cables: Carefully disconnect all the power connectors from the motherboard, graphics card, hard drives, optical drives, and any other components. This includes the 24-pin ATX connector, the 8-pin (or 4+4 pin) CPU power connector, PCIe connectors for the graphics card, and SATA power connectors for storage devices. Pull each connector gently; do not force them. The first thing is to make sure all cables are disconnected.
- Unscrew the PSU: Locate the four screws that hold the PSU to the back of the PC case. Remove the screws carefully, supporting the PSU with your other hand to prevent it from falling. Unscrew carefully.
- Remove the PSU: Once the screws are removed, carefully slide the power supply out of the PC case. You may need to maneuver it slightly to clear any obstacles.
With the old PSU removed, you’re ready to install the new one. It should only take a few minutes to remove.
6. Installing the New PSU: Connecting Everything Correctly
Installing the PSU is essentially the reverse of the removal process:
- Position the PSU: Carefully slide the new power supply into the PSU mounting location in your PC case.
- Secure the PSU: Align the PSU with the screw holes on the back of the case and screw it in place using the four screws. Make sure it’s securely mounted.
- Connect the Cables: Refer to the pictures you took earlier (if you took them) and connect all the power connectors to the appropriate components. This is where it’s crucial to ensure everything is connected correctly. Connect the cables properly. Ensure each connector is securely seated.
- Motherboard: Connect the 24-pin ATX connector and the 8-pin (or 4+4 pin) EPS connector for CPU power.
- Graphics Card: Connect the necessary PCIe connector(s) to your graphics card. Some high-end graphics cards require multiple PCIe connectors.
- Storage Devices: Connect SATA power connectors to your hard drives and SSDs.
- Other Peripherals: Connect any other necessary power connectors to fans, optical drives, or other components.
It’s time to start wiring things. Double-check all connections to ensure everything is plugged in correctly and securely.
7. Modular vs. Non-Modular PSUs: Cabling Considerations
PSUs come in three main cabling configurations:
- Non-Modular: All cables are permanently attached to the PSU. This can lead to cable clutter inside the PC case, especially if you don’t need all the cables.
- Semi-Modular: Some cables (usually the essential ones like the 24-pin ATX and 8-pin EPS) are permanently attached, while others are detachable. This offers a good balance between convenience and cable management.
- Fully Modular: All cables are detachable, allowing you to use only the cables you need. This results in the cleanest build and best airflow. A fully modular PSU provides the best flexibility.
If you’re using a modular PSU or a fully modular power supply, only connect the cables that you need for your components. This will significantly improve cable management and airflow inside the case. You do not need to connect the cables either way, if your components do not require them. It will make it much simpler when you install a new component.
8. Testing Your New PSU Installation
Before closing up your PC case, it’s crucial to test the new PSU installation:
- Reconnect the Power Cable: Plug the power cable into the PSU and the wall outlet.
- Turn on the Power Switch: Flip the power switch on the back of the PSU to the “on” position.
- Press the Power Button: Press the power button on the front of your PC case.
- Observe: If everything is connected correctly, your PC should power on, and you should see the system boot up.
- Check for Stability: Once the operating system has loaded, run some demanding applications or games to ensure the system is stable under load.
- See if everything is working.
If the PC doesn’t power on or if you encounter any issues, double-check all the connections and ensure everything is properly seated.
9. Troubleshooting Common PSU Installation Issues
Here are some common issues you might encounter when replacing a power supply and how to troubleshoot them:
- PC Won’t Turn On:
- Make sure the power cable is securely connected to both the PSU and the wall outlet.
- Check that the power switch on the back of the PSU is in the “on” position.
- Double-check all the internal power connectors to ensure they’re properly connected to the motherboard, graphics card, and other components.
- If you have a PSU tester, use it to test the PSU.
- System Instability (Random Shutdowns, Crashes):
- Make sure the PSU has sufficient wattage to power all your components.
- Check for overheating. Ensure the PSU fan is spinning and that there’s adequate airflow inside the PC case.
- Double-check all connections.
- Noisy PSU:
- If the PSU fan is making excessive noise, it might be failing. Consider replacing the PSU.
- Make sure nothing is obstructing the PSU fan.
These are common problems when replacing the power supply. If you have any more concerns, refer to the documentation. You can start by reviewing the ATX Power Supply information.
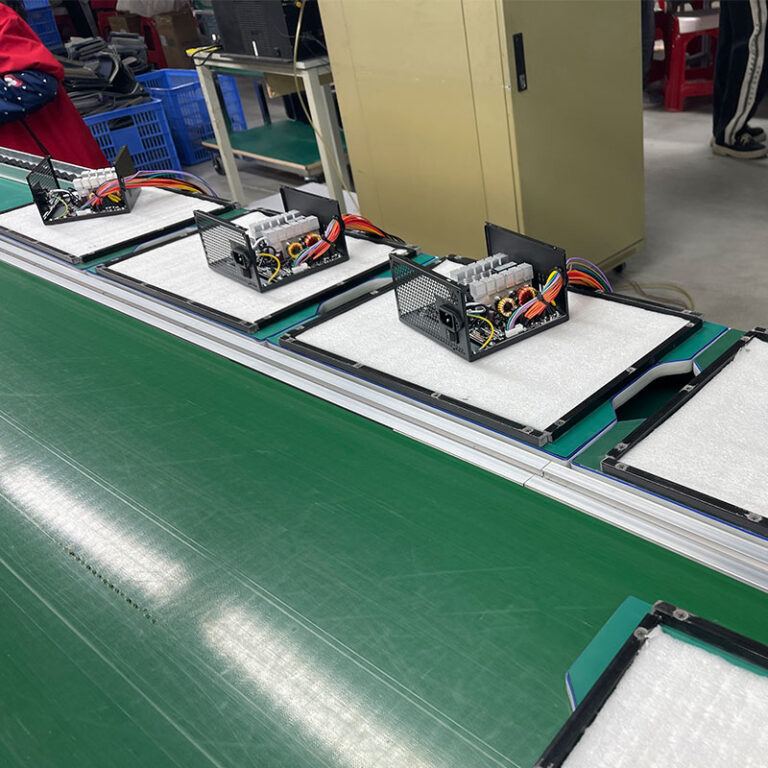
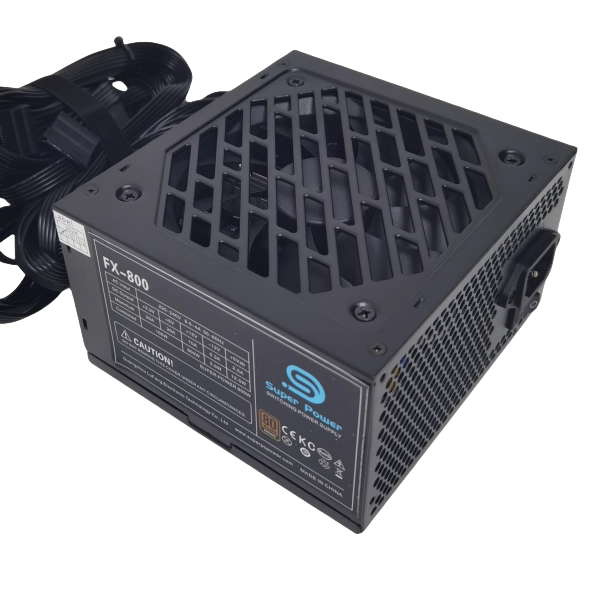
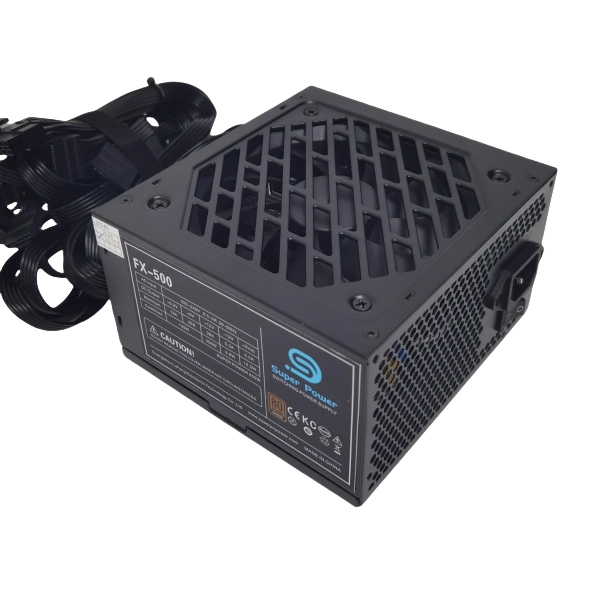
10. Why Consider Us for Your OEM Power Supply Needs?
As an OEM power supply manufacturer, we specialize in providing customized power supply solutions for businesses, system builders, and other organizations. We offer:
- Customization: We can design and manufacture PSUs to your exact specifications, including wattage, form factor, connectors, and branding.
- Quality: We use high-quality components and rigorous testing procedures to ensure the reliability and performance of our power supplies.
- Cost-Effectiveness: By working directly with the manufacturer, you can often save money, especially on bulk orders.
- Technical Support: Our team of experts can provide technical support and guidance throughout the entire process.
Working with us allows for an efficient and effective way to replace a power supply. Our FLEX Power Supply is a great option.
Summary of Important Things to Remember
- Replacing a PSU is a manageable task that can improve your PC’s performance and stability. You should feel confident to install a power supply.
- Choose the right PSU based on wattage and form factor compatibility.
- Safety is paramount: always unplug your PC and ground yourself before working inside.
- Carefully disconnect all cables from the old PSU before removing it.
- When installing the new PSU, ensure all connectors are securely seated. It is easy to install a new power supply.
- Modular PSUs offer better cable management.
- Test your installation thoroughly before closing up your PC case.
- Troubleshoot common issues by double-checking connections and ensuring adequate wattage.
- If you change the PSU and still have problems, you may have another issue.
- It is a relatively easy process to install a new power supply in your PC.
- You may need to remove other components to access the PSU.
- The screws that hold your power supply in place are usually on the back of the PC case.
- It’s important to make sure that your current PSU isn’t enough before you decide to replace it.
- Remember that it’s relatively easy to replace the PSU in your computer.
- You can check our PC POWER SUPPLY for options.
Disclaimer: This article is written based on the provided instructions and publicly available information. Always consult your PC and PSU documentation and take appropriate safety precautions.